Curtiss H-75 A1/A2 1:72 Arma Hobby - Model rewiev
It’s only mid-April, and Arma Hobby has already released their second new kit of the year. This time, it’s the export version of the Curtiss P-36 Hawk, known as the Curtiss H-75. It’s exciting to see another 1/72 scale miniature, especially with the prospect of a U.S. version coming in future boxings. Let’s open the box and see if this kit lives up to the anticipation.
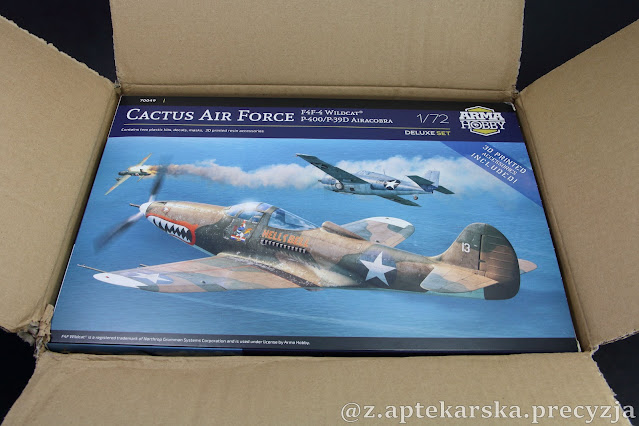
70080 Curtiss H75 A1/A2

The model comes in Arma’s familiar, well-designed box with attractive box art. As usual, the back of the box showcases the available paint schemes.

Here’s what you get inside:


This review covers the extended version of the kit that includes a 3D-printed detail set, offered as an optional preorder bonus.
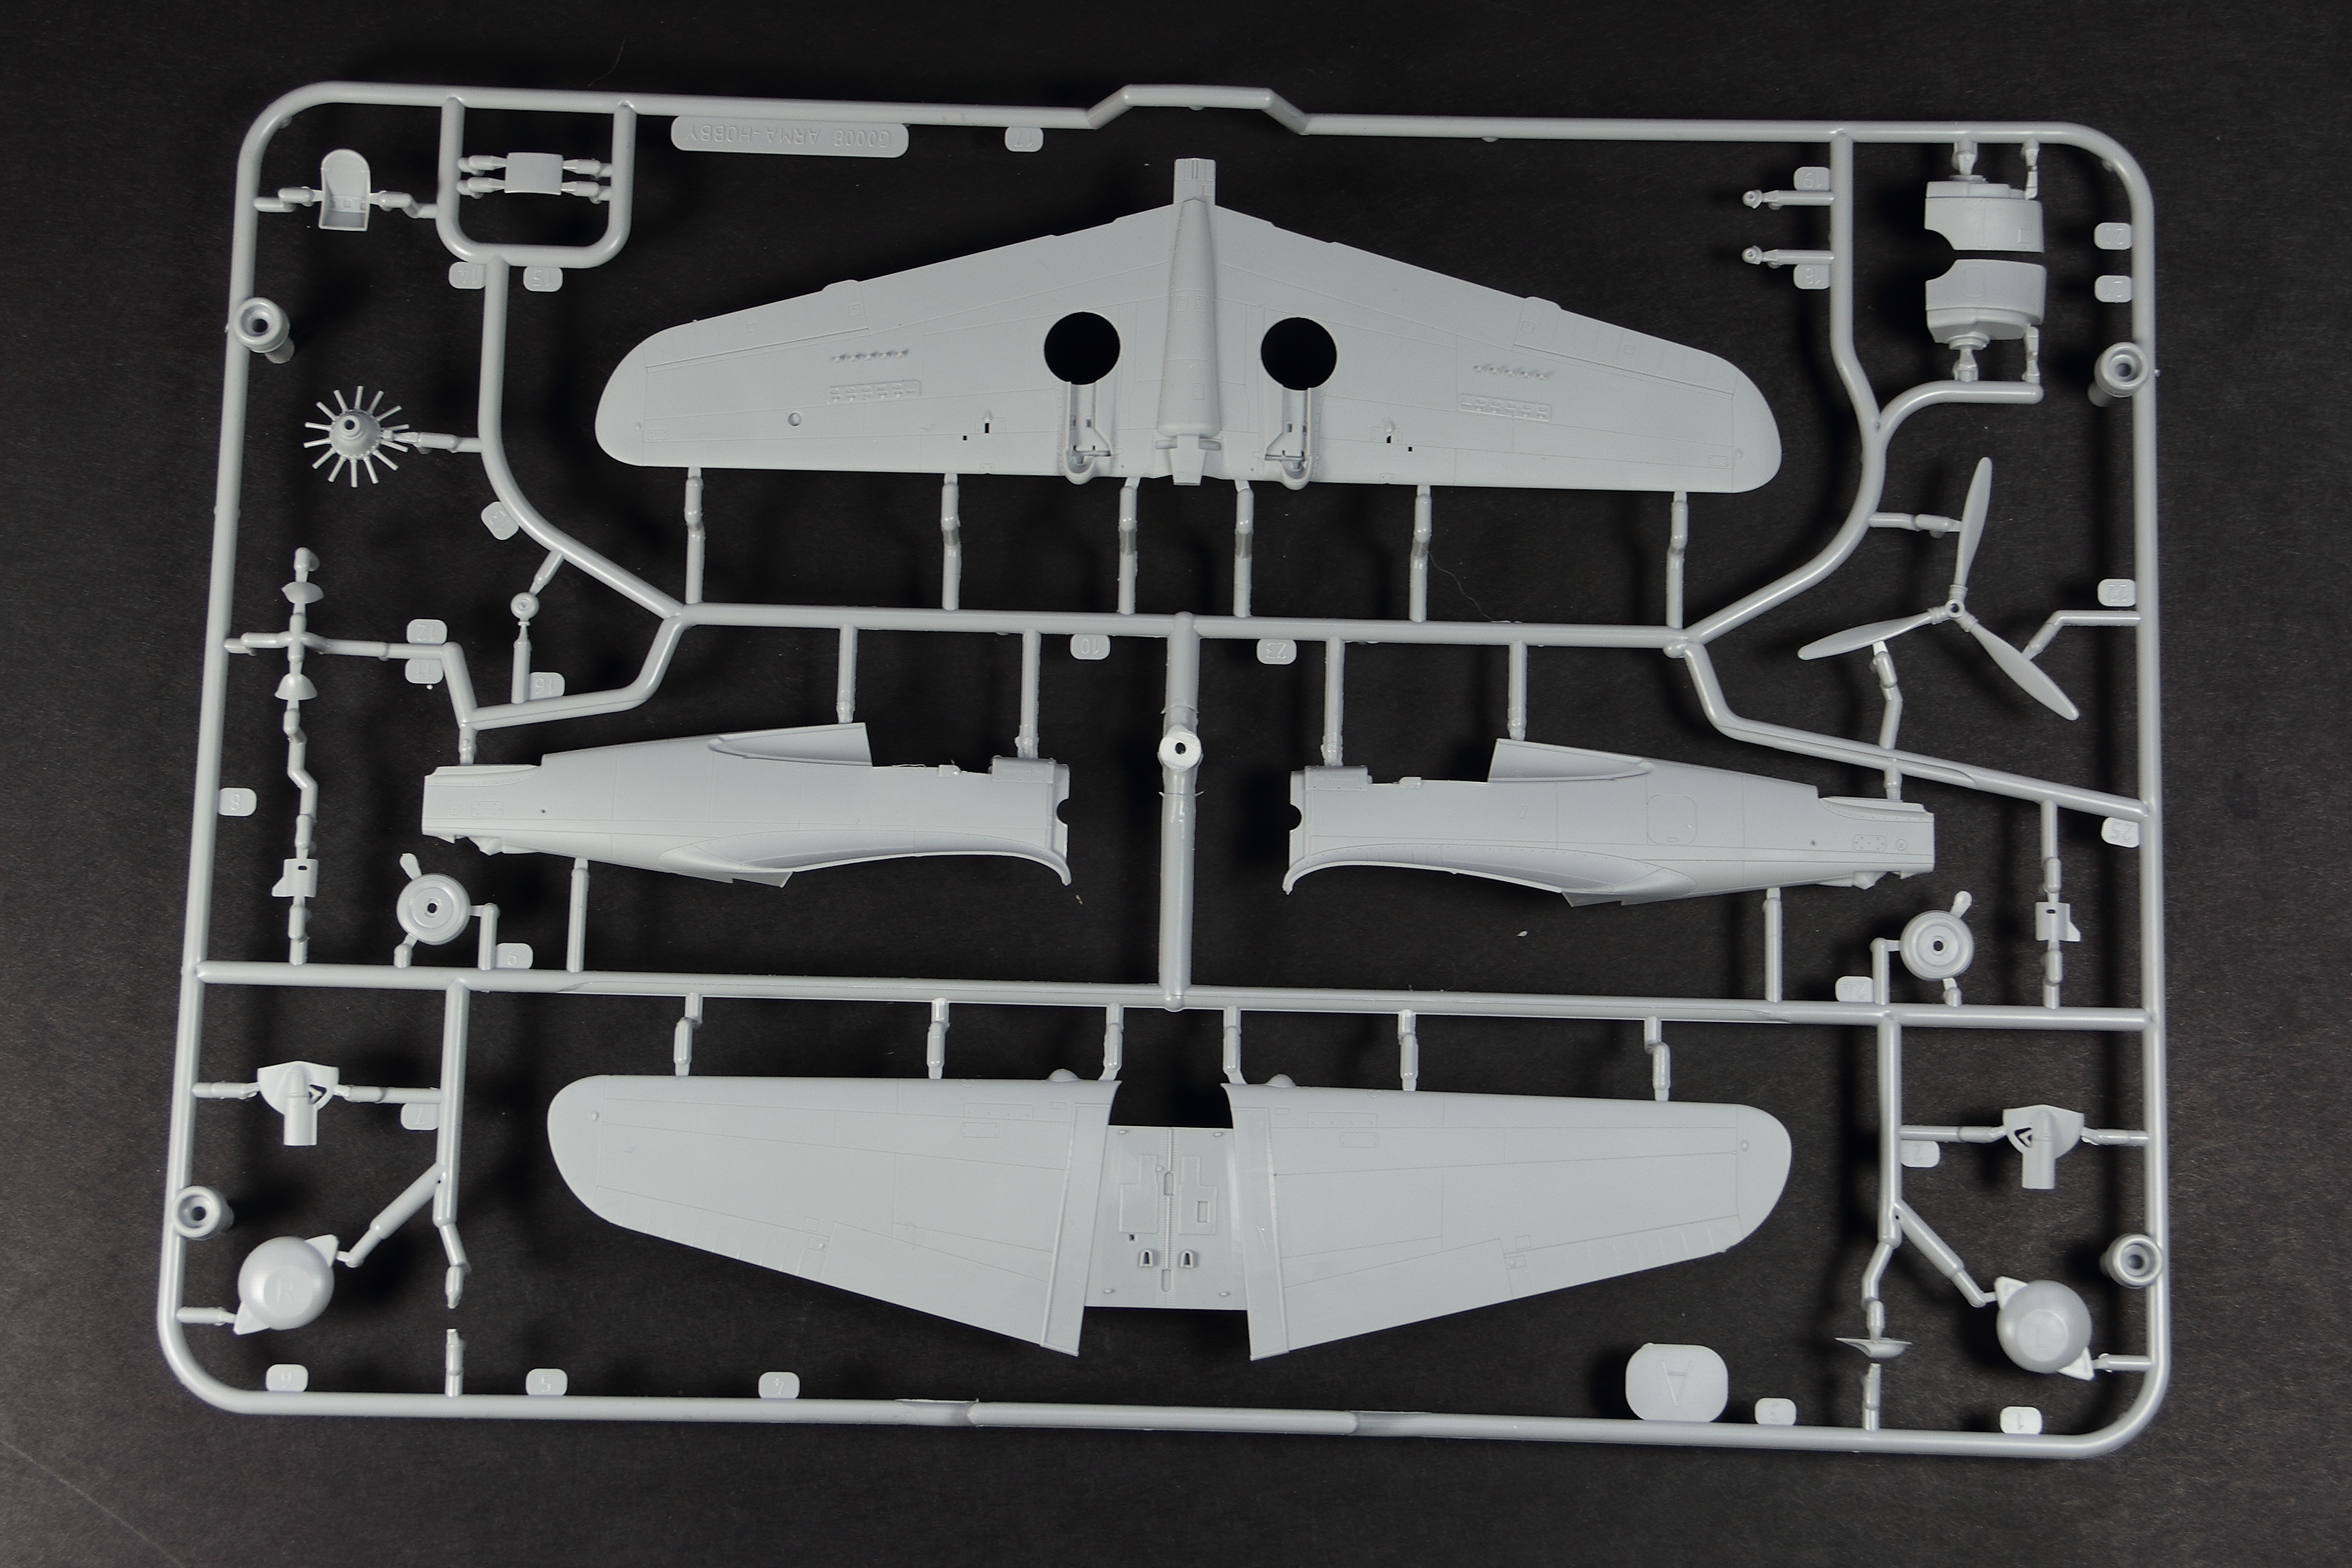


This time, I’ve decided to go through the kit following the build sequence shown in the instructions, which—as we’ve come to expect from Arma Hobby—are detailed yet easy to follow.
Starting with the main gear bay
Arma uses an unusual approach here: the sidewalls of the wheel
well are molded as a single long piece that must be bent into shape at designated points.
This design allows for excellent surface detail, including pre-marked holes which I’d recommend drilling out for added realism.


Cockpit assembly
The cockpit floor is full of detail—tiny rivets, molded structures, and a generally crisp finish.


As with most Arma kits, the cockpit is impressively well detailed. Some parts are molded directly onto the fuselage sides, while others are separate pieces. There are also plenty of decals included to enhance the interior.


Fuselage and wing assembly
Once the cockpit is enclosed and the fuselage and wings are joined, the next steps involve attaching the stabilizers and forward fuselage. Control surfaces are separate parts, with fine panel lines and subtle surface detail. The undersides of the elevators include inspection panels.


The engine
The radial engine is well executed. It gets enclosed in a four-part cowling—a method Arma has used before. It allows for detail on all surfaces but demands precise alignment.


Of course, drilling out the barrel ends is a worthwhile upgrade.


Landing gear and final assembly
The gear legs and wheels match the kit’s high overall quality. The tires feature tread detail, too.


Final steps involve attaching the propeller and finishing up the airframe.
Sadly, the prop doesn’t spin :(


Surface details
Time to admire the surface finish. Panel lines are subtle and sharp—not too deep, not too wide. Exactly how I like them. Surface rivets and reinforcements are also carefully rendered.


Clear parts and markings
The final sprue includes clear parts. Two different windshields are provided—another nod to future variants. The clear plastic is thin and crisp—no complaints here.


Decals
The decal sheet is A5-sized and packed with stencils and cockpit labels.


The rudder stripes are printed together with aircraft codes—bad news for anyone who prefers to paint their markings. Especially since painting the rudder stripes manually is quick and yields a much better result than using a large decal. As it stands, you’re stuck using the decals whether you like it or not. Apart from that, the decals are sharp, colorful, and well printed.


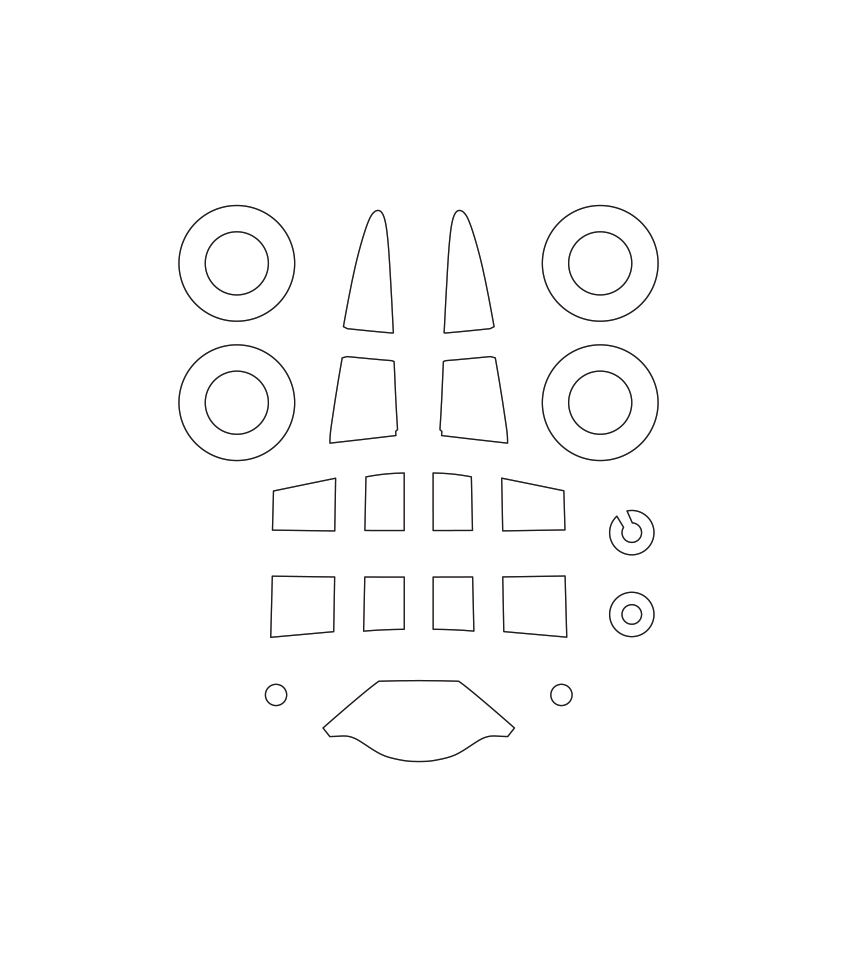
Extra features
As with most Arma kits, you also get kabuki-style die-cut paper masks—handy for canopy painting.
 | |||
| Another addition, available only during the preorder period, is a 3D-printed set—a small block that includes the pilot’s seat, rear cockpit bulkhead, exhaust pipes, instrument panel with control column, machine guns, gunsight, and aiming devices. For those who decided to wait until the official release, not all is lost. The instruction manual contains a QR code linking to free STL files of these same components. You can print them yourself or have someone with a 3D printer do it for you—I did just that for my P-39. |


It’s a small block of resin parts, but the difference in quality is immediately noticeable—especially in the exhausts.

Thanks for reading! Z Aptekarską Precyzją - Models&Reviews

.jpg)
Comments
Post a Comment