Not so long ago Arma Hobby announced that it was going to release another Hurricane. It didn't take long for the model to go on sale and on my desk. Thus, the fourth version of this well-known British fighter has already appeared in the manufacturer's offer. The formula in which this kit was released is interesting. In the box we will find sprues known from the Hurricane Mk.I kit and a 3D printed conversion to the carrier-based version of this aircraft. An innovative idea, a bit more demanding than in the case of previous sets. However, thanks to the combination of injection technology and 3D printing, we have the opportunity to build a model of a less popular aircraft, for which we could otherwise wait months or even years. Reading the comments in Arma Hobby's social media, you can see that some modelers are already making big plans for what they would see next released in this formula.
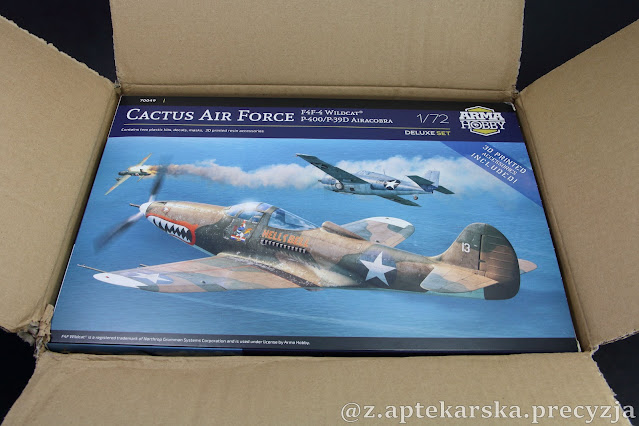
The set is packed in a box with a new graphic design known since the release of Airacobra.
The content, as usual, is in a plastic bag.
Inside there are plastic sprues:
3D prints:
And decals, canopy masks, vinyl masks needed for conversion and instructions.
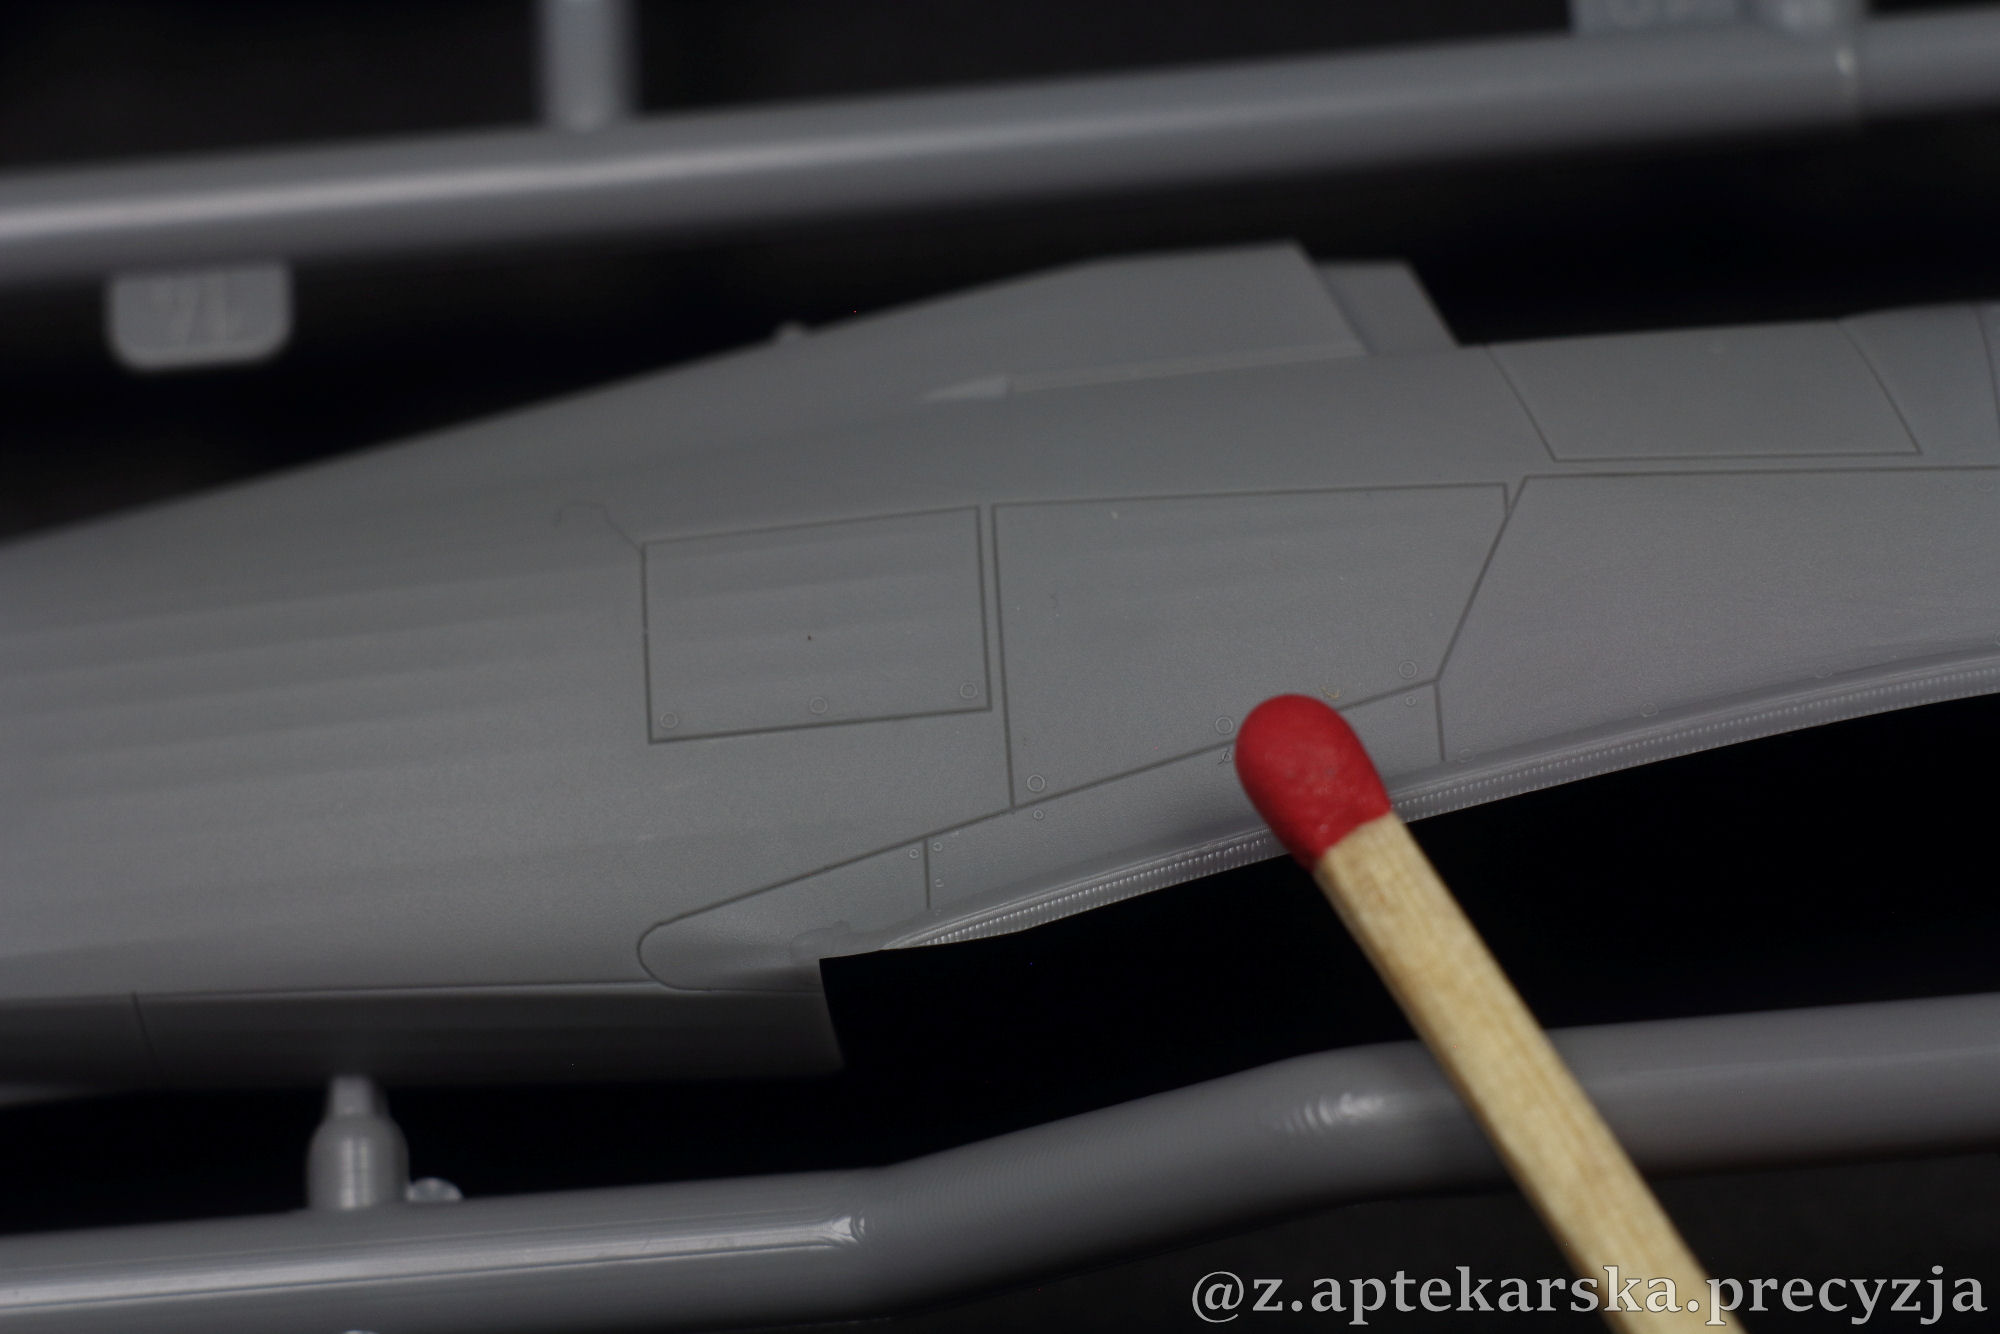
As I mentioned earlier, the plastic frames come from the Hurricane Mk.I set released in 2018. However, since so far I have not had the opportunity to describe the content of this set here on the blog, I looked at what the manufacturer gives us. The frames, despite their age, defend themselves very well:
The panel lines may not be as thin as those on the Mustang or Airacobra, but they still match what I expect from a well-designed model.
The surface covered with the fabric has been reproduced very well.
Some details of the cockpit are molded inside the fuselage:
The other components of the cockpit also look quite good:
Although the armor plate behind the pilot's seat requires minor intervention with a file or an abrasive sponge:
The pilot's seat has bevelled edges, which is supposed to make this element optically thinner. It turned out pretty well, but I would still improve this effect a bit myself.
Unfortunately, the instrument panel, due to its thickness, has a small sink mark.
It's a pity, because as usual, the decal dedicated to this part of the aircraft is of very high quality. I see two rescue options: sacrifice the outline of the clocks on the extended fragment of the board and grind the pit, or invest in a replacement from Yahu. There is still a third way out. Apply the decal, glue the board in place and forget about this "issue".
Speaking of issues, out of chronicler duty, I show the ones I spotted on my kit:
Nothing terrible and difficult to remove. To be honest, the landing gear covers need sanding anyway to make them a little thinner. In this case, it is difficult for the manufacturer to overcome the disadvantages of injection technology.
I don't know if the sink marks on the horizontal stabilizer are worth mentioning:
The details on the wheels are impressive
And how thin is the trailing edge of the vertical stabilizer:
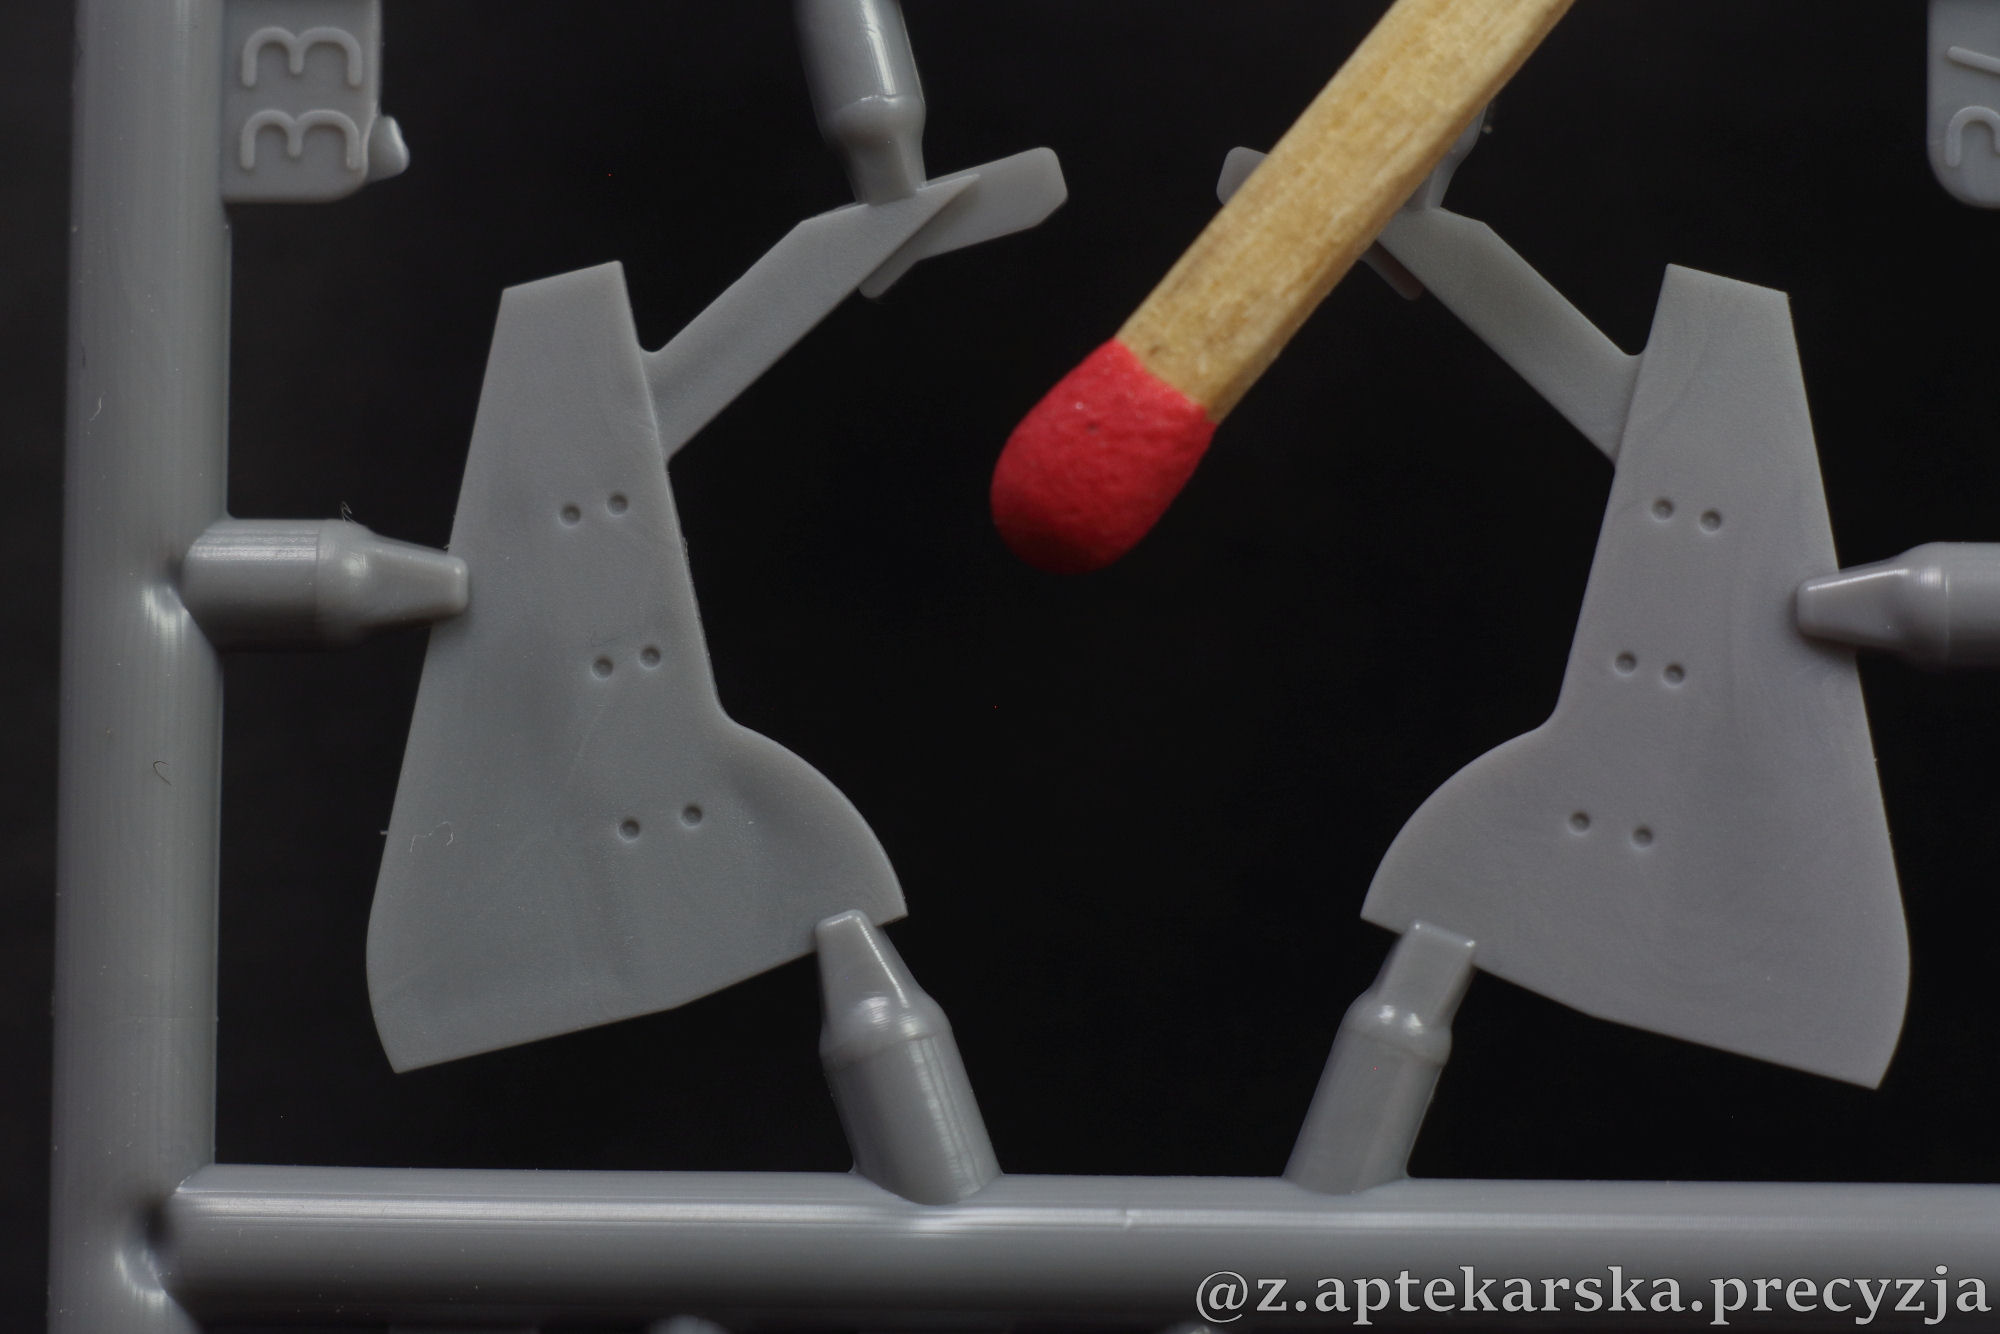
Speaking of control surfaces, the horizontal stabilizer is designed with separate rudders.
The other elements of the airplane also look very good:
The frame with transparent parts looks great. Admittedly, the canopy is a bit thick, but perfectly transparent and only slightly distorts the image.
It's time to look at 3D printed elements. This technology has long been found in the homes of some modelers, now it is entering companies that produce scale models. It is definitely a very good decision. Anyway, see for yourself.
I only recommend handling the printout quite carefully, the supports are very delicate and I managed to break off one of the collectors by moving the printout during the photos. Fortunately, nothing terrible happened - the element is intact. :)
The extras included with the conversion are vinyl stickers, thanks to which we will shorten the flaps on the plane. Besides, in the box there are also canopy masks cut in kabuki paper.
The last, not yet discussed, element of the set are decals. I guess it's enough to write that printed by Techmod, you know what to expect. :)
It is worth paying attention to the serial numbers with a fragment of paint from the previous version of the aircraft's camouflage.
Unfortunately, the seatbelts are only in the form of a decal.

At this point, I feel unsatisfied, because I expected the set to include the pilot's seatbelts in the form of a 3D print. The more so that, among other things, Arma packed the seatbelts and the control stick for holiday orders when they tested the printing technology. Unfortunately, according to the drawing in the manual, the 3D parts consist primarily of those elements that are needed to convert the land Hurricane into an carrier-based version. Well, it is possible that these supplements did not pass the testing phase.
You should keep the decal you received or invest in PE parts. By the way, we have been spoiled by model manufacturers in the last few years. Who would have thought some time ago that the modeler would complain about the manufacturer, because he did not add a pilot's seat to the cockpit... :)
Returning to the model, after performing the necessary surgical procedures:
And after glueing what is to be glued, we will be able to paint our model. As usual with the Arma, the choice will not be easy, because the included decals allows to make five paint schemes:
Here AH draws attention to such thing as a different color of some panels:

As in the case of Airacobra, I decided to check how it fits together. The makeovers weren't that scary, and the "operation" itself took me less than one evening. Everything fits together almost perfectly (more in post scriptum):
To sum up, maybe this set is a bit different from what AH showed in the last few months, but it is still a very well designed model of the aircraft. While the latest productions of this company, in my opinion, delight and beat the competition when it comes to details, this Hurricane boldly meets the expectations I set for myself after the 1:72 scale. Especially since it was designed four years ago, when few people outside Poland had even heard of Arma Hobby! Secondly, I hope that the idea of releasing this type of sets (model + 3D printing for conversion) will work out and soon we will be able to enjoy the Hurrican IID model.
The review sample was provided by manufacturer - Arma Hobby
Thanks for reading! ZAP - Models&Reviews
PS If you like what I do you can buy me a coffee on
buycoffee.to.
PPS Since I fitted the 3D prints to the model, I came to the conclusion that I will describe here my thoughts on what to pay attention to:
First, the tools I used:
Olfa's knife and needle, an old airbrush needle, a razor blade and a file.
It is best to check the fit of the wings to the fuselage before we cut out the fragment that is replaced by a 3D print. My kit is pretty well fitted
However, I improved it a bit, I removed the excess plastic from the part of the fuselage on which the wings lies:
This allowed the wings to sit deeper in the fuselage. The fitting shows that everything is ok.
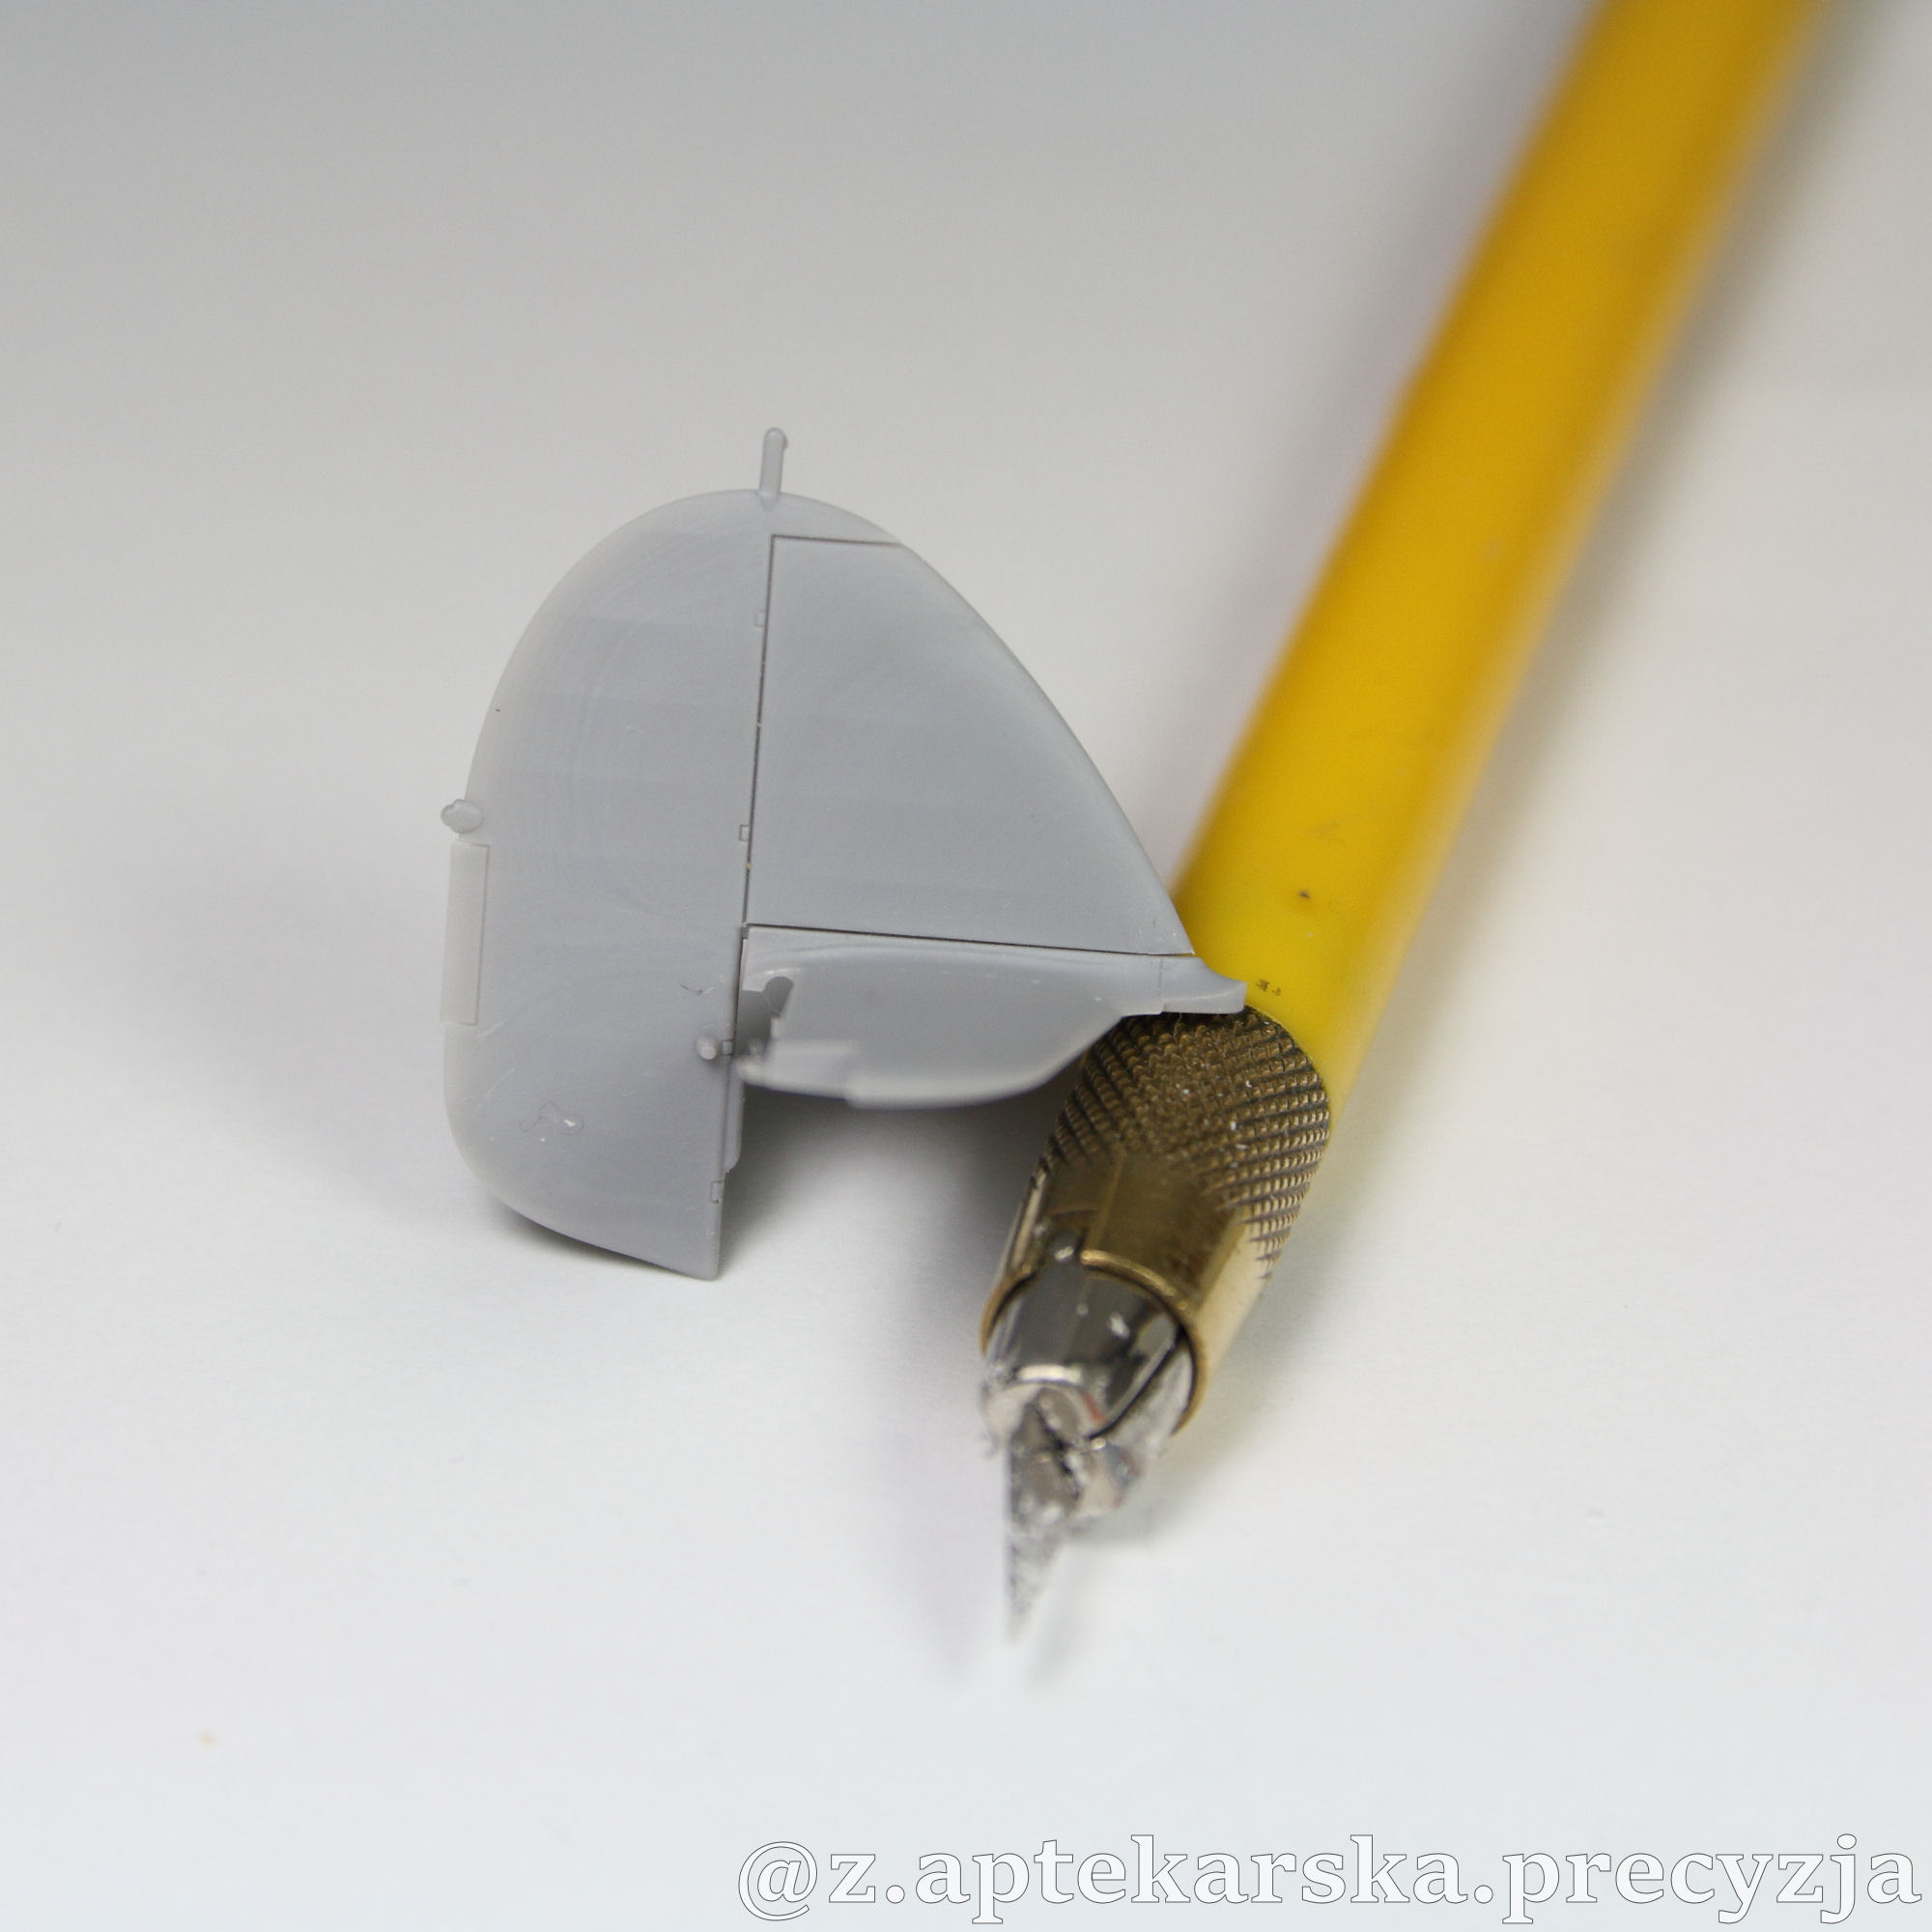
The mounting pin of the vertical stabilizer is a bit too thick and fits into its place with resistance. In addition, when using a thin glue that dissolves plastic, its excess can flow out of the gap, leaving ugly marks.
With the blade of my scalpel, I scraped off a bit of plastic to thin it.
Control fitting
Preparation of the fuselage for printed parts:
In the first step, I carefully deepened the fine parting lines with an old airbrush needle. In the next step I used a more massive Olfa needle.
When I had already carved a sufficiently deep groove, I began to remove the plastic using a razor blade.
After a dozen or so strokes, it was possible to separate the unnecessary part of the fuselage. The most important thing in this process was to apply as little force as possible, so that the groove would gouge only under the weight of the tool. This prevents the razor blade from slipping sideways and damaging the plastic.
I lightly sanded the cut edge.
At this point, it is worth checking whether the printed element adheres well and does not collide with plastic parts. In this case, grind the cut edge at a larger angle.
It's a good idea to pay attention to where the hook goes in, too much plastic can make it not fit properly.
As you can see, I cut a bit too much at the tail circle. Patching it won't be too difficult, but if I had to do it a second time, instead of cutting along the panel line, I would leave a small margin and, fitting the print, removing the remaining excess plastic with a flat file.
Here too, the razor blade collected a bit too much plastic, I'll fill it with CA glue.

If everything fits together:
then you can glue the print using cyanoacrylate glue.
My plan for gluing this part is as follows: first, catch it lightly with CA, and then cover the joint with glue from the inside, using the place where we will later glue the fin. It is good to check beforehand if everything is fine here as well.
Since I already had a file at hand, I decided to deal with the shrinkage pit on the main gear cover.
After some sanding it looked like this:
A few more delicate cuts and here is the effect:
And my patent for keeping such parts while grinding:
General conclusions: it is better to remove plastic slowly, and check fitting each time, than to remove too much at once. For this, it is worth trying on a element and wondering why it does not fit as it should. Each time I fit parts, I look for possible points of contact and those that collide with each other.


.jpg)

Comments
Post a Comment